When I started my bread baking adventures a few months ago, growing my own starter was not on my radar. If anything, I was against it. It felt like so much work. The feeding, the maintaining. I didn’t want the responsibility. Even though one of my favorite books from last year made it sound like a lot of fun, I wasn’t convinced.
My curiosity got the best of me. After baking a number of loaves with commercial yeast, I wondered why people were infatuated with sourdough. Could sourdough loaves be that much better than what I was already baking?
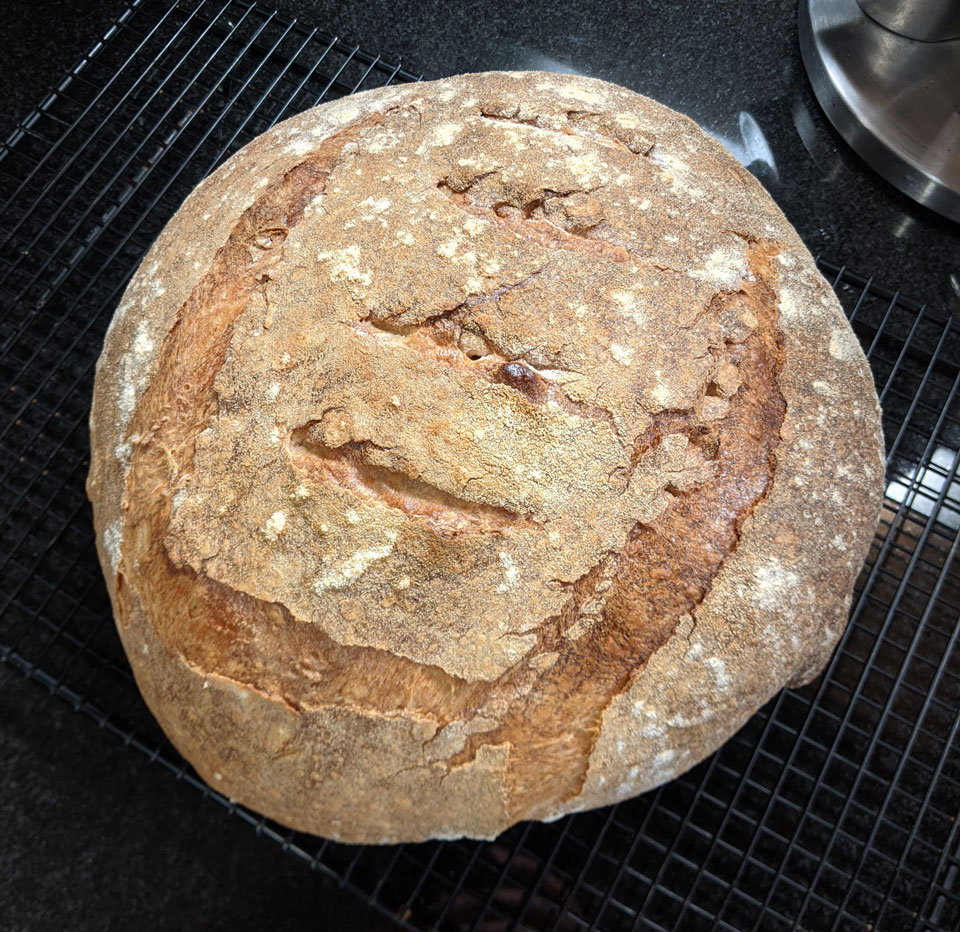
I’m here to tell you yes, they are. They may not be worlds apart, but there’s a noticeable difference.
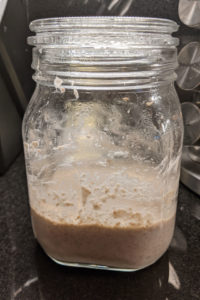
When starting out, it can be intimidating. How a simple mixture of flour and water (see picture above right) turns into an active concoction of live yeast is a marvel of nature. It’s also quite the science experiment, which I’m about 2 months into.
Here are a few lessons I learned in the process of growing a sourdough starter. This isn’t going to be about how to make one, or how to care for it. There’s plenty of how-to articles already out there.
Consider this a post to inspire you to grow your own starter or to press on if you’re struggling.
Start with quality ingredients
My mother has a great saying when it comes to cooking and baking – “you can make a bad dish with good ingredients, but you can’t make a good dish with bad ingredients.”
Her point? What you start with matters.
A sourdough starter is flour and water. That’s it. To make a good, strong, healthy sourdough starter, you need to start with good flour and good water. I’ve been using King Arthur flour (combination of white whole wheat and all purpose flour) and filtered water, which has worked well for me.
Invest in the tools
My dad has a saying when it comes to making things – “having the right tools makes it easier to do the job right.”
His point? If you’re going to build something, invest in the tools.
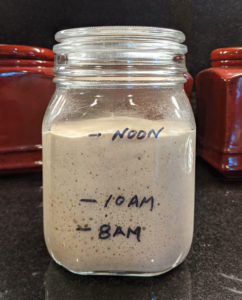
Fortunately, for sourdough, you don’t need a lot of tools. What I would suggest is a simple kitchen scale, a one-quart clear glass jar with a lid, and a grease marker. The scale is key for measuring the flour and water properly. A clear glass jar, such as a mason jar or this one from Ikea for $4, allows you to visibly see progress, and a grease marker or Sharpie will allow you to measure progress. All told, it should cost you under $20 in tools to get started.
Conditions matter
Yeast is a living thing. Just like you and me, it doesn’t like to be too hot, and it doesn’t like to be too cold. The optimal environment for yeast is between 70F and 90F (20C and 30C).
Temperature was one of my biggest struggles. I started my sourdough starter experiment in the late fall when the temperature in my house was on the cooler side. After experimenting with various locations, I found that sitting the starter on top of the refrigerator kept the starter at a consistent temperature that allowed it to flourish.
Persistence is the key

I wish I could boast that my first attempt was a resounding success, but it was a sensational fail. It started strong, but by the third day my starter had stopped growing. After trying numerous things – flour combinations, kitchen locations, feeding times – my starter came to life.
It took almost two weeks, but my start eventually ended up looking like the picture at the right. It’s healthy enough at the current time that I can keep it in the fridge, feed it once or twice a week, and bring it to life when I’m ready to bake a loaf of bread.
Have a discard plan
One of the biggest surprises was the amount of starter you end up discarding in the process of creating one. If you’re like me and don’t like to waste food, then it’s important to have a plan for your discard before you start.
Fortunately, when it comes to sourdough discard, you’re not alone. There is a wealth of discard recipes on the internet covering everything from waffles to crackers to biscuits to pretzels and more. The King Arthur baking site has an excellent collection of discard recipes that I’ve been working through. So far, my favorites are the waffles, biscuits, and chocolate cake.
There isn’t a ‘right’ way
Articles on the internet make it sound like there is only way to make a starter, their way. There isn’t a right way to make one. Sure, the ingredient ratios and the temperatures matter. But after that, anything goes.
What I’ve found to be the most fun is tinkering with the process. There are so many variables when it comes to growing the starter and baking a loaf. Yes, some experiments result in stunning failure, some are OK, and others turn out amazing. It’s all about finding out what works best for you.
The end result is worth it
If you’re considering growing a starter, my advice is to give it a go.
If you’re struggling with a starter, my advice is to keep after it.
If you’ve never considered a start, what are you waiting for?
Eventually, you will persevere, and when you do, the results are worth it. I don’t know what it is about your own, homemade sourdough, but it just tastes better. Maybe it’s psychological, maybe it isn’t. Either way, I’m not going to question it, I’m just going to enjoy it.

Happy Baking!

Pingback: Five sourdough discard ideas - Gregg Borodaty
Pingback: Baking: The Long and Winding Road - Gregg Borodaty