One of my favorite memories growing up was going to my Grandma’s house after she baked her homemade apple pie. I can still remember the smell in her kitchen, and there was nothing like the taste of warm apple pie fresh out of the oven.
My mother, who is a great cook in her own right, took over my Grandma’s apple pie recipe. She can, and still does, make a pretty mean apple pie herself. I’d be hard pressed to choose which one I like better – Mom’s or Grandma’s.
In any case, I decided a few years ago that it was time for me to start learning how to make Grandma’s apple pie myself. On one of my mom’s trips out to Southern California, she brought the recipe and assisted me on my first try. It was good, but not like what I remembered.
Since then, I’ve made a few pies, but the one I recently baked over Thanksgiving came out best. It’s the closest I’ve come to matching my mom and grandma’s work. I still need more practice, but I figured I’d share my variation of the recipe along with a few secrets I’ve learned so far.
Apple Pie Recipe
Pie crust
2c flour
1 tsp salt
3/4c cold butter (or shortening)
4-8 tbsp cold water (very important that it is cold)
In a medium-large size bowl, mix flour and salt. Cut the butter into 1/2-inch squares, and cut into mixture using a pastry cutter until the butter has been reduced to pea-size (or smaller) balls covered with flour. Add 4 tbsp of cold water, lightly toss into mixture using a fork and test consistency. If dough holds together when lightly squeezed together, then press it into a ball trying to knead and handle it as little as possible. The more handling, the tougher the crust. If the dough doesn’t hold together, add water until it does. Add as little water as possible. Split the dough into two balls flattened to 1/2-inch disks. Place in refrigerator for an hour or more. You may be able to start rolling without refrigeration, but rolling it cold helps it stay together.
Apples
4-medium size apples, cored and peeled
Use a mixture of apples, preferably 2 Granny Smiths, 1 Braeburn, and 1 Pink Lady, although you can experiment with different kinds to taste. Jonathans, Jonagolds, Pippins or Macintosh apples are also good choices. Wash the apples, core and then peel. Cut the apples into slices of consistent thickness. A mandolin slicer can help to achieve this.
Spice (seasoning)
3/4c sugar
1 tsp cinnamon
2 tbsp flour
Mix sugar, cinnamon and flour in a small bowl until color of spice mixture has a uniform tannish-brown color.
Assembly and Baking
Liberally flour the work surface and place the first dough disk on it. Place a bit of flour on top of the disk as well as on the rolling pin. Roll the dough into a circle working out from the center, occasionally sprinkling more flour on the dough so it doesn’t stick to the rolling pin. Once the dough is rolled so that it will cover the bottom the tin, place it in the tin. Cut the extra dough from around the edges of the tin and set aside to use for patching as necessary.
Using a fork, prick the pie shell in the tin liberally on the bottom and the side, then put in a layer of spice. Then follow with a layer of apples, a layer of spice, and so on, until the pie is filled. Be sure to leave a small amount of spice (~ 1 tbsp) for the top of the pie shell.
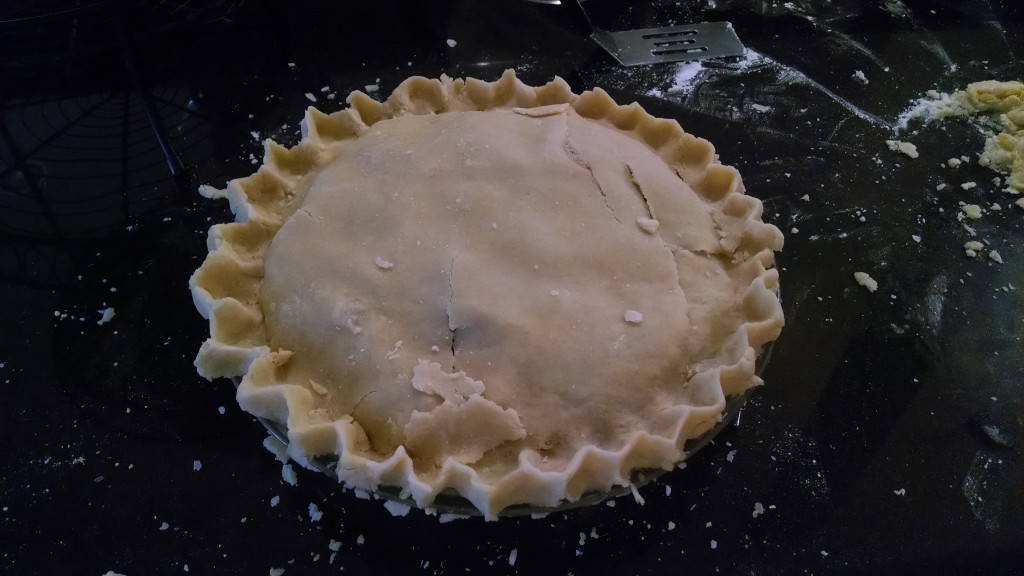
Roll out the top shell the same as the bottom and place on top of the pie. Press the edges together and crimp for styling. With a pasty brush, brush the top of the shell with milk to moisten. Sprinkle the remaining spice on the top of the pie shell. Using a knife, cut some slits in the top shell to vent.
Place in an oven pre-heated to 400 degrees for 35-40 minutes or until pie is a golden brown color on top.
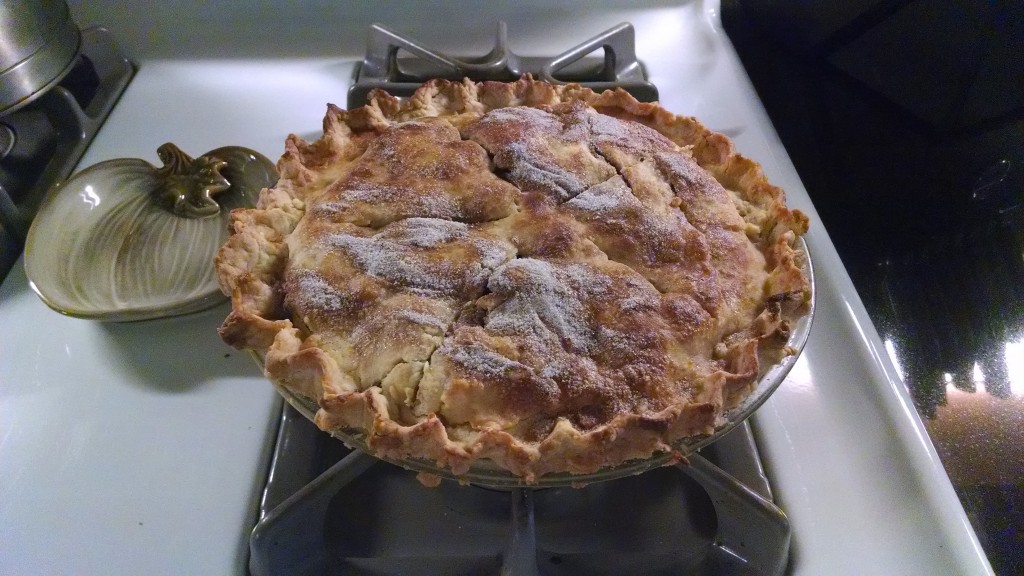
Here’s a picture of my latest finished product using the above. It barely lasted a weekend in our house.

Secrets and Lessons Learned
The ingredients
I’ve learned that the right apples and the spice (seasoning) are the two most important parts, in that order. For the apples, I’ve found that a mix works best, with Granny Smiths always being a part of it. I’ve had pretty good luck with Granny Smith, Jonathans and Pippins, but my recent mixture of Granny Smiths, Braeburns and Pink Ladies was the best. As for the spice, I picked up a tip from a Yahoo! video about the right mixture of sugar, cinnamon and flour.
The crust
This is the most difficult part of the pie for me. My first pies used a butter-based crust which just didn’t seem to have enough taste or flakiness to it. My better pies have used shortening, which is what I’ve been using lately. However, I’m thinking of switching back to butter to improve the quality of the ingredients.

My other struggle is rolling the crust and getting it to stay together from the work surface to the tin. I’ve tried all kinds of tricks, including extra cold water, refrigerating the dough overnight, but it is still a struggle. I seem to always find myself having to do some patch work on the crust after I get it into the tin. Something tells me that practice will make perfect.
Apple thickness

In order for the apples to cook evenly, I’ve found it important to maintain a uniform thickness. I’ve been using a mandolin slicer for this purpose. My process is to wash the apple, core it, peel it, and run it through the mandolin slicer. I get a pretty consistent thickness which shows in the quality and taste of the finished product. The baked apples have a consistent texture to them.
The layering
When layering, I create layers with each type of apple. For my recent creation, I started with a layer of spice, a Granny Smith, a layer of spice, a Braeburn, a layer of spice, a Pink Lady, a layer of spice, a Granny Smith, and final layer of spice before topping the pie.
The baking
Putting the pie in the over for 35-40 minutes at 400 degrees seems to work best. This is a bit art more than science in that the look and smell are the tell-tell signs of when the pie is ready to come out.
Feel free to share any apple pie secrets in the comments. I’d love to hear them, especially any tips with making and handling the crust!

Pingback: Improving on Grandma's Apple Pie Recipe - Gregg Borodaty